Jupyter Notebook
This guide describes how to use Jupyter notebook in Submarine to launch and manage Jupyter notebooks.
Working with notebooks
We recommend using Web UI to manage notebooks.
Notebooks Web UI
Notebooks can be started from the Web UI. You can click the “Notebook” tab in the left-hand panel to manage your notebooks.
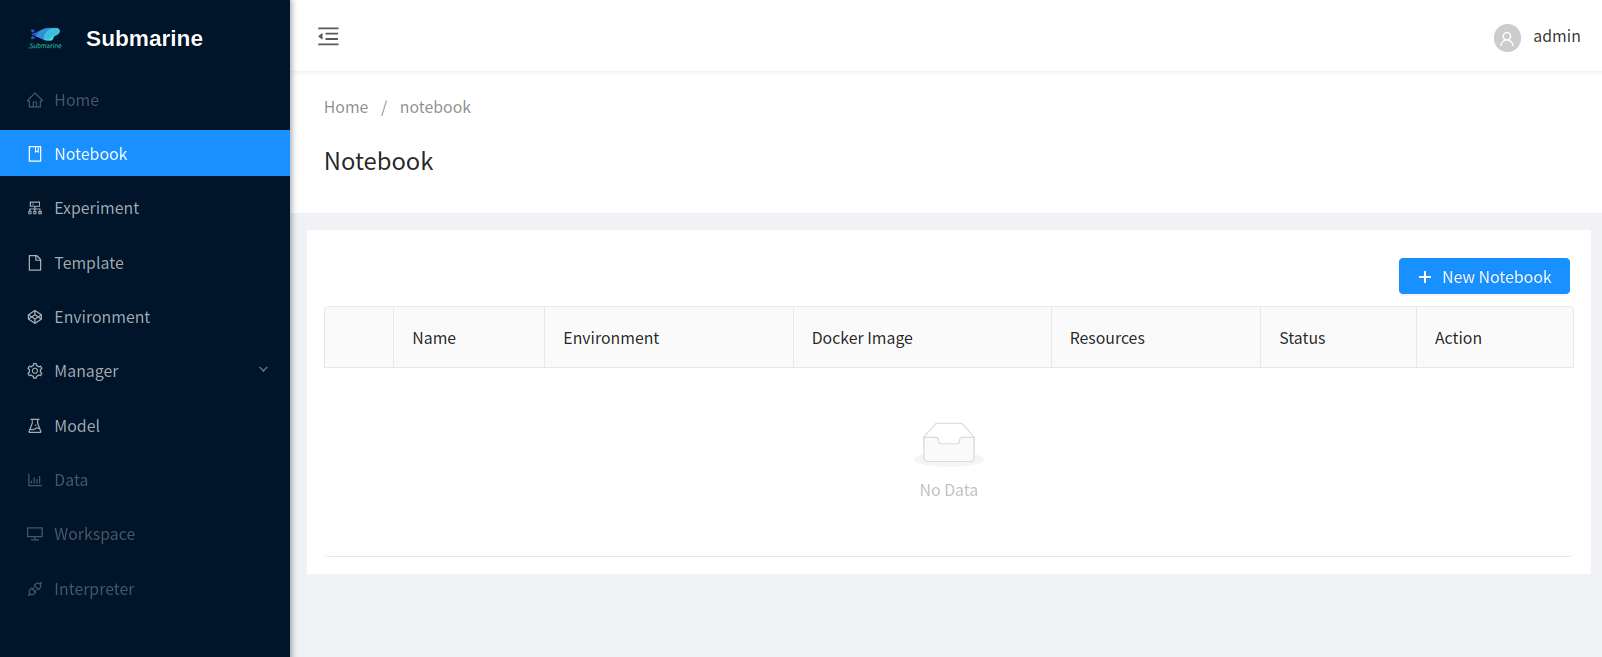
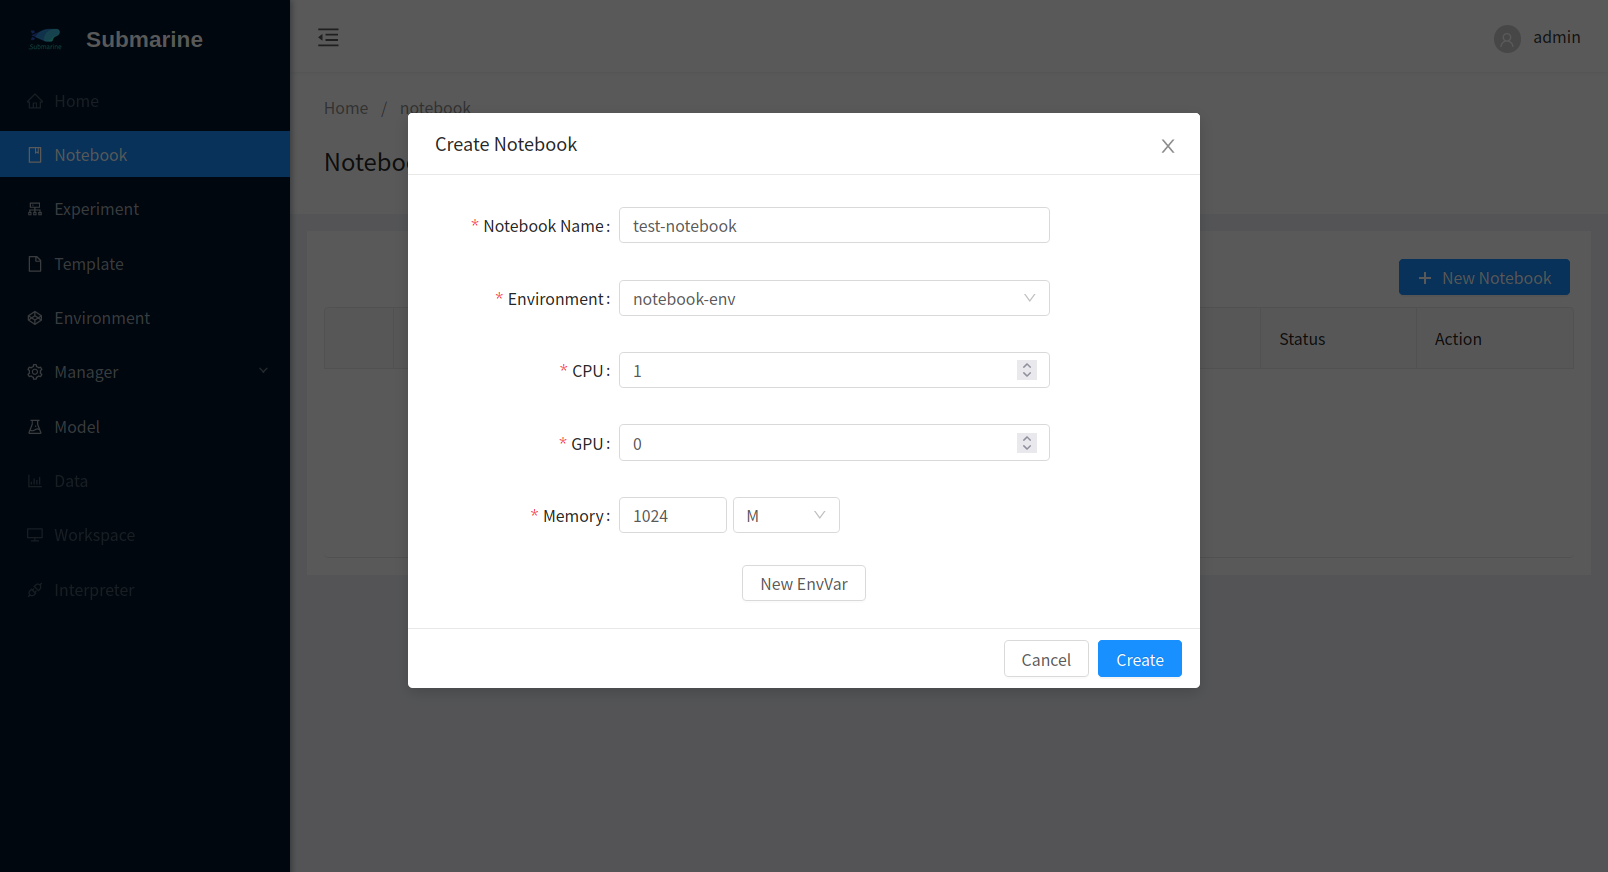
To create a new notebook server, click “New Notebook”. You should see a form for entering details of your new notebook server.
- Notebook Name : Name of the notebook server. It should follow the rules below.
- Contain at most 63 characters.
- Contain only lowercase alphanumeric characters or '-'.
- Start with an alphabetic character.
- End with an alphanumeric character.
- Environment : It defines a set of libraries and docker image.
- CPU and Memory
- GPU (optional)
- EnvVar (optional) : Injects environment variables into the notebook.
If you want to use notebook-gpu-env, you should set up the gpu environment in your kubernetes. You can install NVIDIA/k8s-device-plugin. The list of prerequisites for running the NVIDIA device plugin is described below
- NVIDIA drivers ~= 384.81
- nvidia-docker version > 2.0
- docker configured with nvidia as the default runtime
- Kubernetes version >= 1.10
If you’re not sure which environment you need, please choose the environment “notebook-env” for the new notebook.
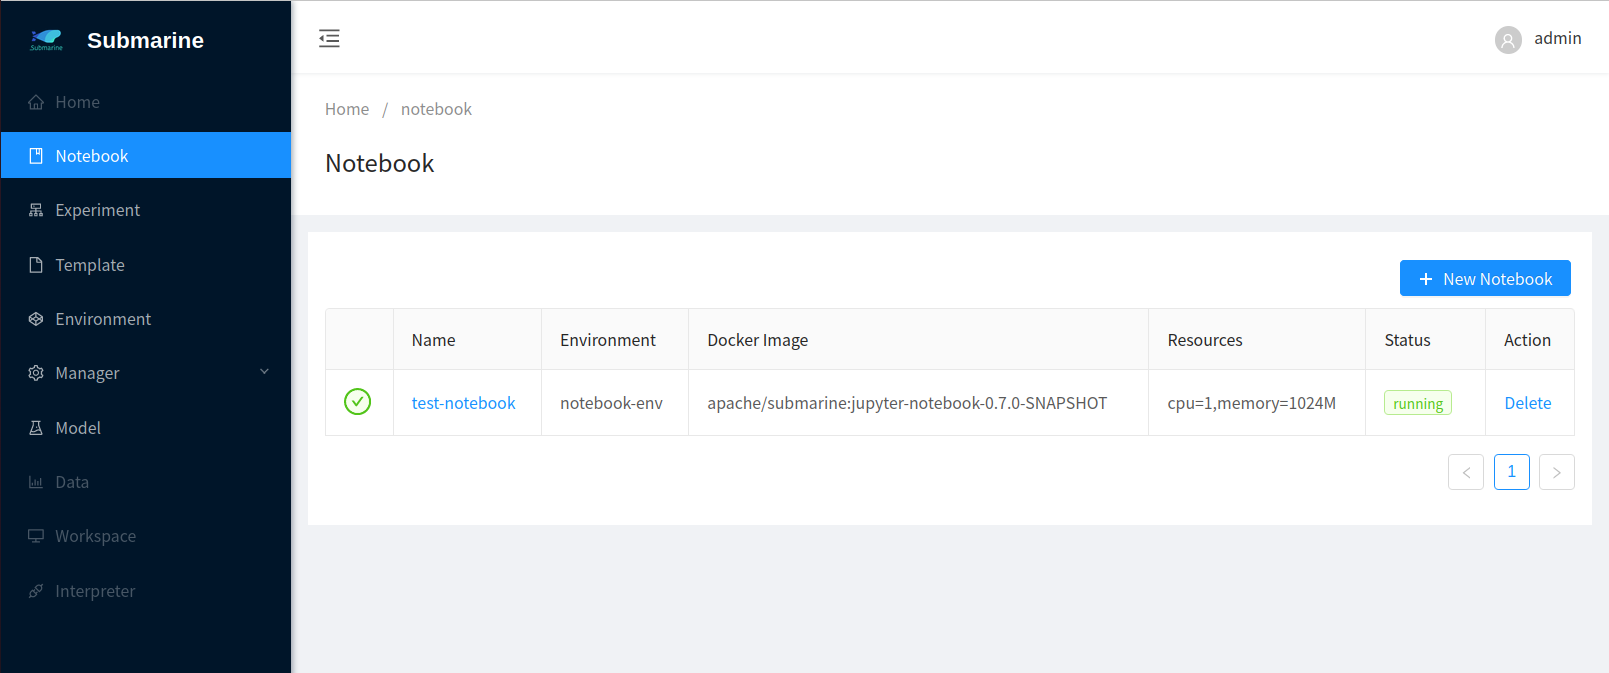
You should see your new notebook server. Click the name of your notebook server to connect to it.
Experiment with your notebook
The environment “notebook-env” includes Submarine Python SDK which can talk to Submarine Server to create experiments, as the example below:
from __future__ import print_function
import submarine
from submarine.client.models.environment_spec import EnvironmentSpec
from submarine.client.models.experiment_spec import ExperimentSpec
from submarine.client.models.experiment_task_spec import ExperimentTaskSpec
from submarine.client.models.experiment_meta import ExperimentMeta
from submarine.client.models.code_spec import CodeSpec

# Create Submarine Client
submarine_client = submarine.ExperimentClient()

# Define TensorFlow experiment spec
environment = EnvironmentSpec(image='apache/submarine:tf-dist-mnist-test-1.0')
experiment_meta = ExperimentMeta(name='mnist-dist',
                                 namespace='default',
                                 framework='Tensorflow',
                                 cmd='python /var/tf_dist_mnist/dist_mnist.py --train_steps=100',
                                 env_vars={'ENV1': 'ENV1'})

worker_spec = ExperimentTaskSpec(resources='cpu=1,memory=1024M',
                                 replicas=1)
ps_spec = ExperimentTaskSpec(resources='cpu=1,memory=1024M',
                                 replicas=1)
code_spec = CodeSpec(sync_mode='git', url='https://github.com/apache/submarine.git')

experiment_spec = ExperimentSpec(meta=experiment_meta,
                                 environment=environment,
                                 code=code_spec,
                                 spec={'Ps' : ps_spec,'Worker': worker_spec})

# Create experiment
experiment = submarine_client.create_experiment(experiment_spec=experiment_spec)
You can create a new notebook, paste the above code and run it. Or, you can find the notebook submarine_experiment_sdk.ipynb inside the launched notebook session. You can open it, try it out.
After experiment submitted to Submarine server, you can find the experiment jobs on the UI.